When your vehicle’s braking system isn’t performing well, it might be time to consider replacing the brake master cylinder. This crucial component is responsible for generating hydraulic pressure in your brake system, enabling the vehicle to stop. If you’re noticing a soft brake pedal, loss of brake fluid, or decreased braking power, the master cylinder could be the issue. Follow these steps to replace it and ensure your vehicle stops safely.
Step-by-Step Guide: How to Replace a Brake Master Cylinder
Step 1: Get Your Vehicle Ready

Make sure your vehicle is parked on a level surface and the parking brake is fully engaged before you begin.
- Disconnect the Battery: This will prevent any electrical mishaps during the replacement process.
- Relieve Brake Fluid Pressure: Open the hood and remove the master cylinder cap to release the brake fluid pressure. This makes it easier to disconnect the brake lines later.
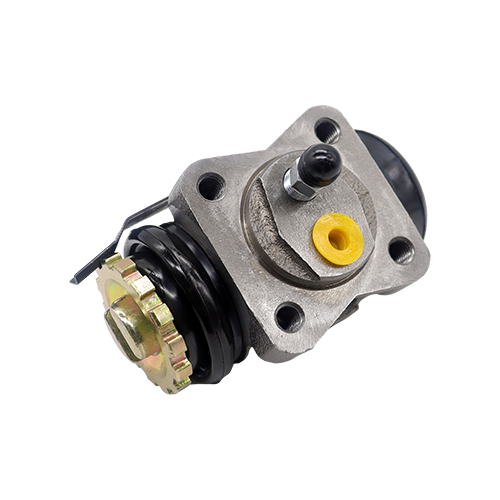
Step 2: Take Out the Old Master Cylinder
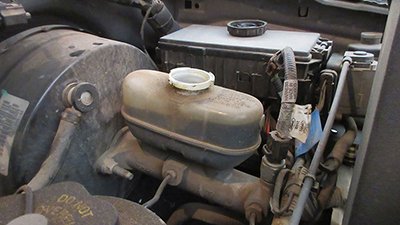
You’ll usually find the brake master cylinder on the driver’s side of the engine bay, next to the brake booster. Follow these steps to carefully remove the old one:
- Locate the Master Cylinder: Identify the master cylinder and the brake lines connected to it.
- Disconnect the Brake Lines: Grab a brake line wrench to carefully loosen and remove the brake lines from the master cylinder. Expect some brake fluid to leak out, so keep a cloth nearby to clean up any spills.
- Unbolt the Master Cylinder: The master cylinder is fixed to the brake booster with bolts. Use a socket spanner to loosen and remove it, then carefully remove the master cylinder.
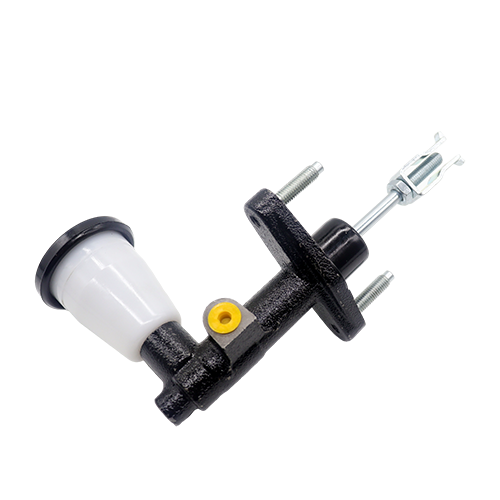
Step 3: Bench Bleed the New Master Cylinder
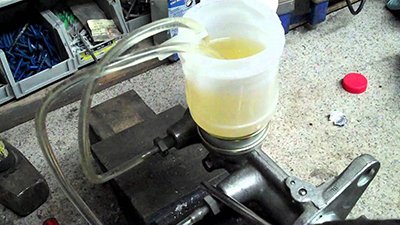
Before installing the new master cylinder, you’ll need to bench-bleed it. This is an essential step to ensure there’s no air trapped inside the cylinder that could cause issues with your brake system.
- Attach Hoses to the Master Cylinder: The new master cylinder should come with a kit to bench-bleed it. Attach the provided hoses to the cylinder.
- Fill the Master Cylinder with Brake Fluid: Pour fresh brake fluid into the new master cylinder, then pump the cylinder a few times to help remove any trapped air.
- Check for Air Bubbles: Keep pumping until no more air bubbles emerge from the hoses. This ensures the cylinder is properly bled before installation.
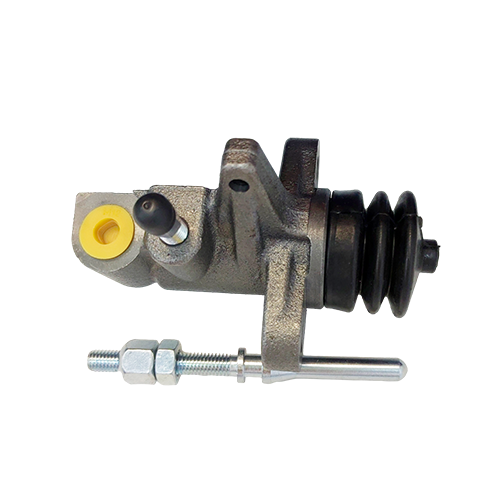
Step 4: Install the New Master Cylinder
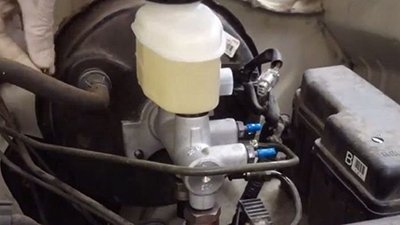
Now that your new master cylinder is prepared, it’s time to install it.
- Place the New Cylinder in Position: Position the new master cylinder against the brake booster.
- Bolt the Master Cylinder in Place: Use the mounting bolts to secure the master cylinder to the brake booster. Tighten the bolts to the manufacturer’s recommended torque specifications.
- Reconnect the Brake Lines: Reattach the brake lines to the new master cylinder. Make sure the connections are tight and leak-free.
Step 5: Bleed the Brakes
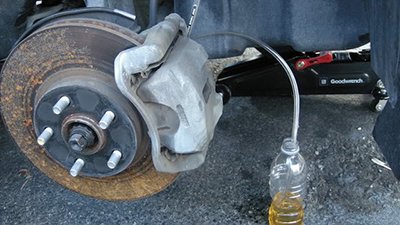
After installing the new master cylinder, it’s important to bleed the brakes to ensure all the air is cleared from the brake lines.
- Begin with the Farthest Wheel: Start with the wheel that’s farthest from the master cylinder, which is regularly the rear passenger side wheel.
- Use a Brake Bleeding Kit: Either have a helper pump the brake pedal or use a brake bleeding kit to expel air from the brake lines. Keep an eye on the fluid level to ensure it doesn’t run low during the process.
- Work Your Way Around: Move to the next farthest wheel (passenger side front), then the driver’s side rear, and finally the driver’s side front. Ensure you are continuously checking for air bubbles in the fluid until it runs clear.
- Check Brake Fluid Level: After bleeding, ensure the brake fluid is at the proper level. Top it off if necessary.
Step 6: Test the Brakes

Once you’ve completed the installation and bleeding process, it’s time to check everything.
- Reconnect the Battery: Reconnect the vehicle’s battery if you had disconnected it earlier.
- Inspect for Leaks: Carefully check the master cylinder and brake lines for any leaks. If you notice any, tighten the connections to ensure a proper seal.
- Press the Brake Pedal: Check the firmness of the brake pedal. It should feel firm, with no sponginess or excessive travel. If the pedal feels soft, there may still be air in the lines.
- Test Drive: After the installation, take the car for a short drive to ensure the brakes are performing as they should. Make sure the vehicle stops smoothly and there are no odd sounds or problems.
If you want to know the brake master cylinder replacement cost, you can look here for a reference.