Replacing a clutch slave cylinder is an essential skill for any automotive professional. It ensures smooth gear shifting and prevents costly transmission damage if done correctly. This step-by-step guide will help you properly replace, provide maintenance tips, and offer top-tier service to your customers.
What is a Clutch Slave Cylinder
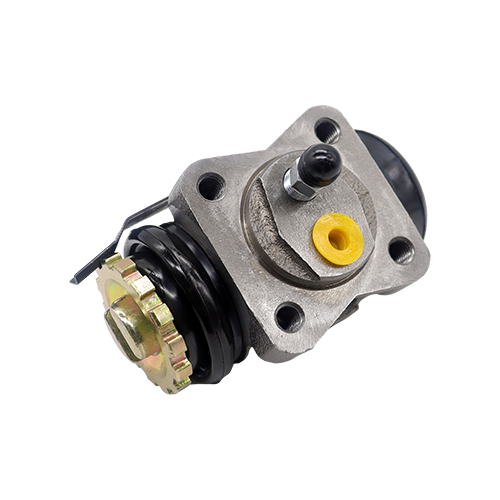
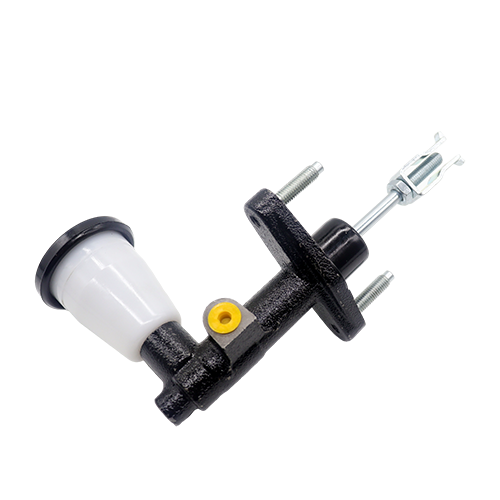
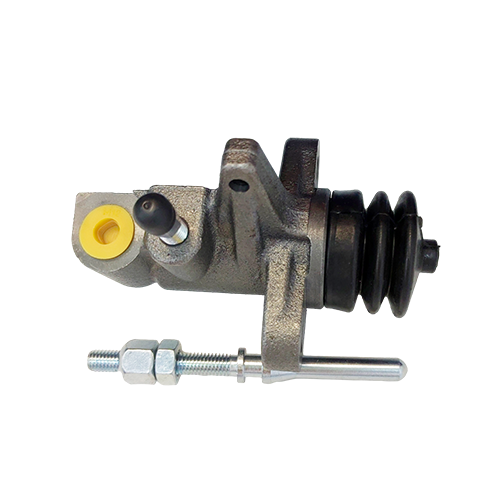
The clutch slave cylinder is part of a vehicle’s hydraulic clutch system. It uses hydraulic pressure to release the clutch.
Signs of a Failing Slave Cylinder
- A bad clutch slave cylinder can cause:
- Soft or spongy clutch pedal
- Difficulty shifting gears
- Fluid leaks near the transmission
- The clutch pedal stuck in the floor
If your customer reports any of these issues, a replacement may be necessary.
Tools & Materials Needed
Tools:
- Wrench set (typically 10 mm-14 mm)
- Line wrench (for hydraulic fittings)
- Brake Bleeder Kit
- Jack and Jack stands
- Drain pan
Parts & Fluids:
- A new clutch slave cylinder
- Brake fluid or clutch fluid (DOT 3 or DOT 4)
- Replacement gaskets or O-rings (if needed)
Pro Tip: Always check the vehicle’s service manual for specific part numbers and torque specs.
Step-by-Step Guide to Replacing a Clutch Slave Cylinder
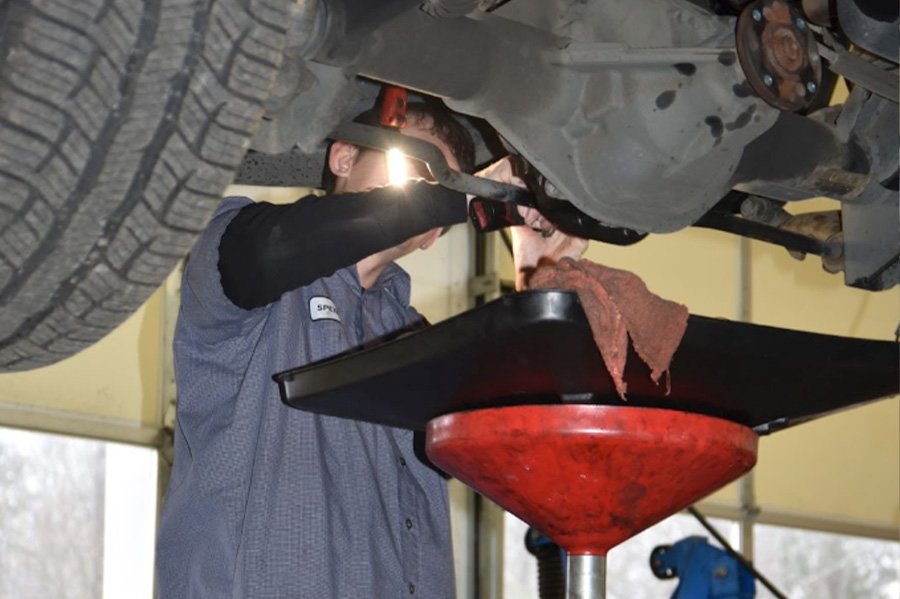
Step 1: Locate the Clutch Slave Cylinder
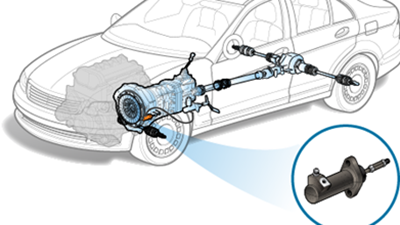
- Find the clutch slave cylinder, usually mounted on or near the transmission.
- Some vehicles have an internal slave cylinder (CSC – Concentric Slave Cylinder) inside the bell housing. If so, the transmission must be removed to access it.
- Inspect for leaks and confirm the failure before removal.
Pro Tip: Take a picture before disassembly to reference the hose routing and mounting positions later.
Step 2: Drain the Hydraulic Fluid
- Put a drain pan under the slave cylinder.
- Use a line wrench to loosen the hydraulic line fitting and allow fluid to drain.
- If the fluid is dark or contaminated, consider flushing the entire hydraulic system.
Warning: Brake/clutch fluid is corrosive to paint. Wipe off any spills immediately!
Step 3: Remove the Old Slave Cylinder
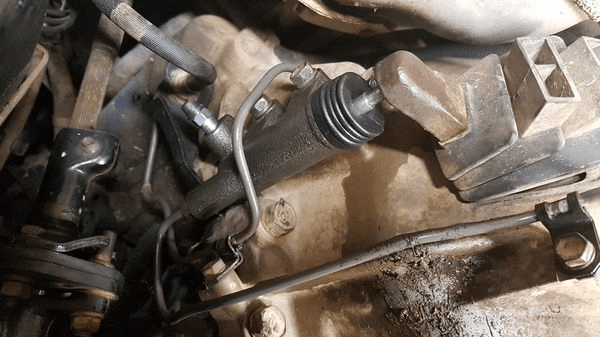
- Use a line wrench to prevent rounding off the hydraulic fitting.
- Remove the bolts securing the slave cylinder (typically 2-3 bolts).
- Carefully pull the old slave cylinder away from the transmission.
Pro Tip: If the clutch pedal has been pressed while the system was open, air may have entered the master cylinder, requiring additional bleeding later.
Step 4: Prepare & Install the New Slave Cylinder
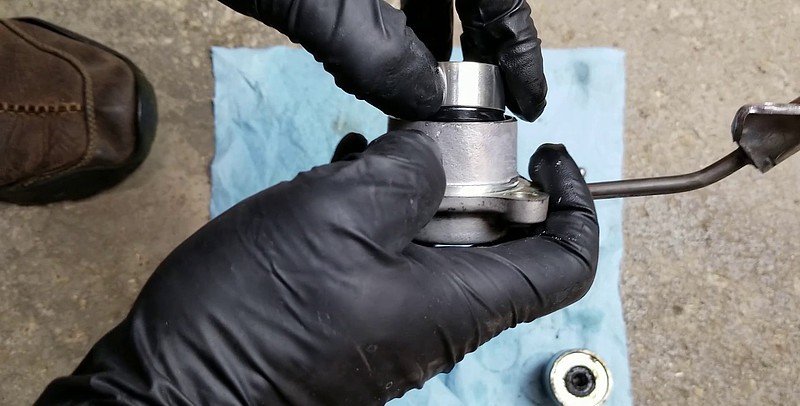
A. Prepping the New Slave Cylinder
- Bench bleed the new slave cylinder (if applicable).
- Fill it with fluid.
- Slowly push the piston to remove trapped air.
- Check for any included seals, O-rings, or mounting gaskets, and install them if necessary.
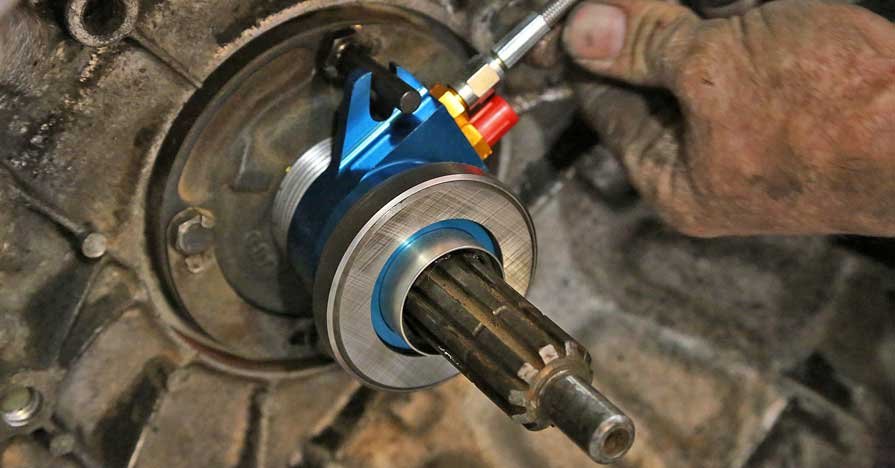
B. Installing the Slave Cylinder
- Position the new slave cylinder on the transmission.
- Bolt the clutch sub-pump in place and tighten to the torque specified by the manufacturer.
- Reconnect the hydraulic line, ensuring a tight seal.
Pro Tip: Overtightening can damage the hydraulic fitting threads, so use a torque wrench where possible.
Step 5: Bleed the Clutch System
Bleeding removes air bubbles that can cause a soft or non-functional clutch pedal.
A. Manual Bleeding (One-Person Method)
- Open the bleeder valve.
- Press and release the clutch pedal slowly (5-10 times).
- Keep an eye on the fluid reservoir—don’t let it run dry.
- Close the bleeder valve when air bubbles stop appearing.
B. Pressure Bleeding (Faster Method with Bleeder Kit)
- Attach a vacuum bleeder tool to the bleeder valve.
- Pump the tool to draw out air and old fluid.
- Keep the master cylinder reservoir filled.
- Close the bleeder valve when only clean fluid comes out.
Pro Tip: Always use fresh brake/clutch fluid—old fluid absorbs moisture, reducing performance.
Step 6: Test the Clutch System

- Turn on the engine and push down the clutch pedal. It should feel firm and smooth.
- The car shifts through all gears to ensure proper engagement.
- Test drive the vehicle, paying attention to clutch engagement.
Pro Tip: If the clutch still feels soft, repeat the bleeding process to remove any trapped air.
Maintenance Tips for Longevity
How to Extend the Life of a Clutch Slave Cylinder
- Use high-quality clutch fluid – Contaminated or low-grade fluid can cause internal seal failure.
- Bleed the system regularly – Air bubbles reduce clutch performance.
- Inspect for leaks – Catching leaks early can prevent full system failure.
- Avoid riding the clutch – Excessive clutch use can increase hydraulic pressure and cause wear.
Common Mistakes to Avoid
- Not bleeding the system properly – Air pockets can cause the clutch to feel soft or fail.
- Over-tightening hydraulic fittings – This can damage the threads and cause leaks.
- Skipping regular fluid changes – Old fluid can degrade seals and cause premature failure.